
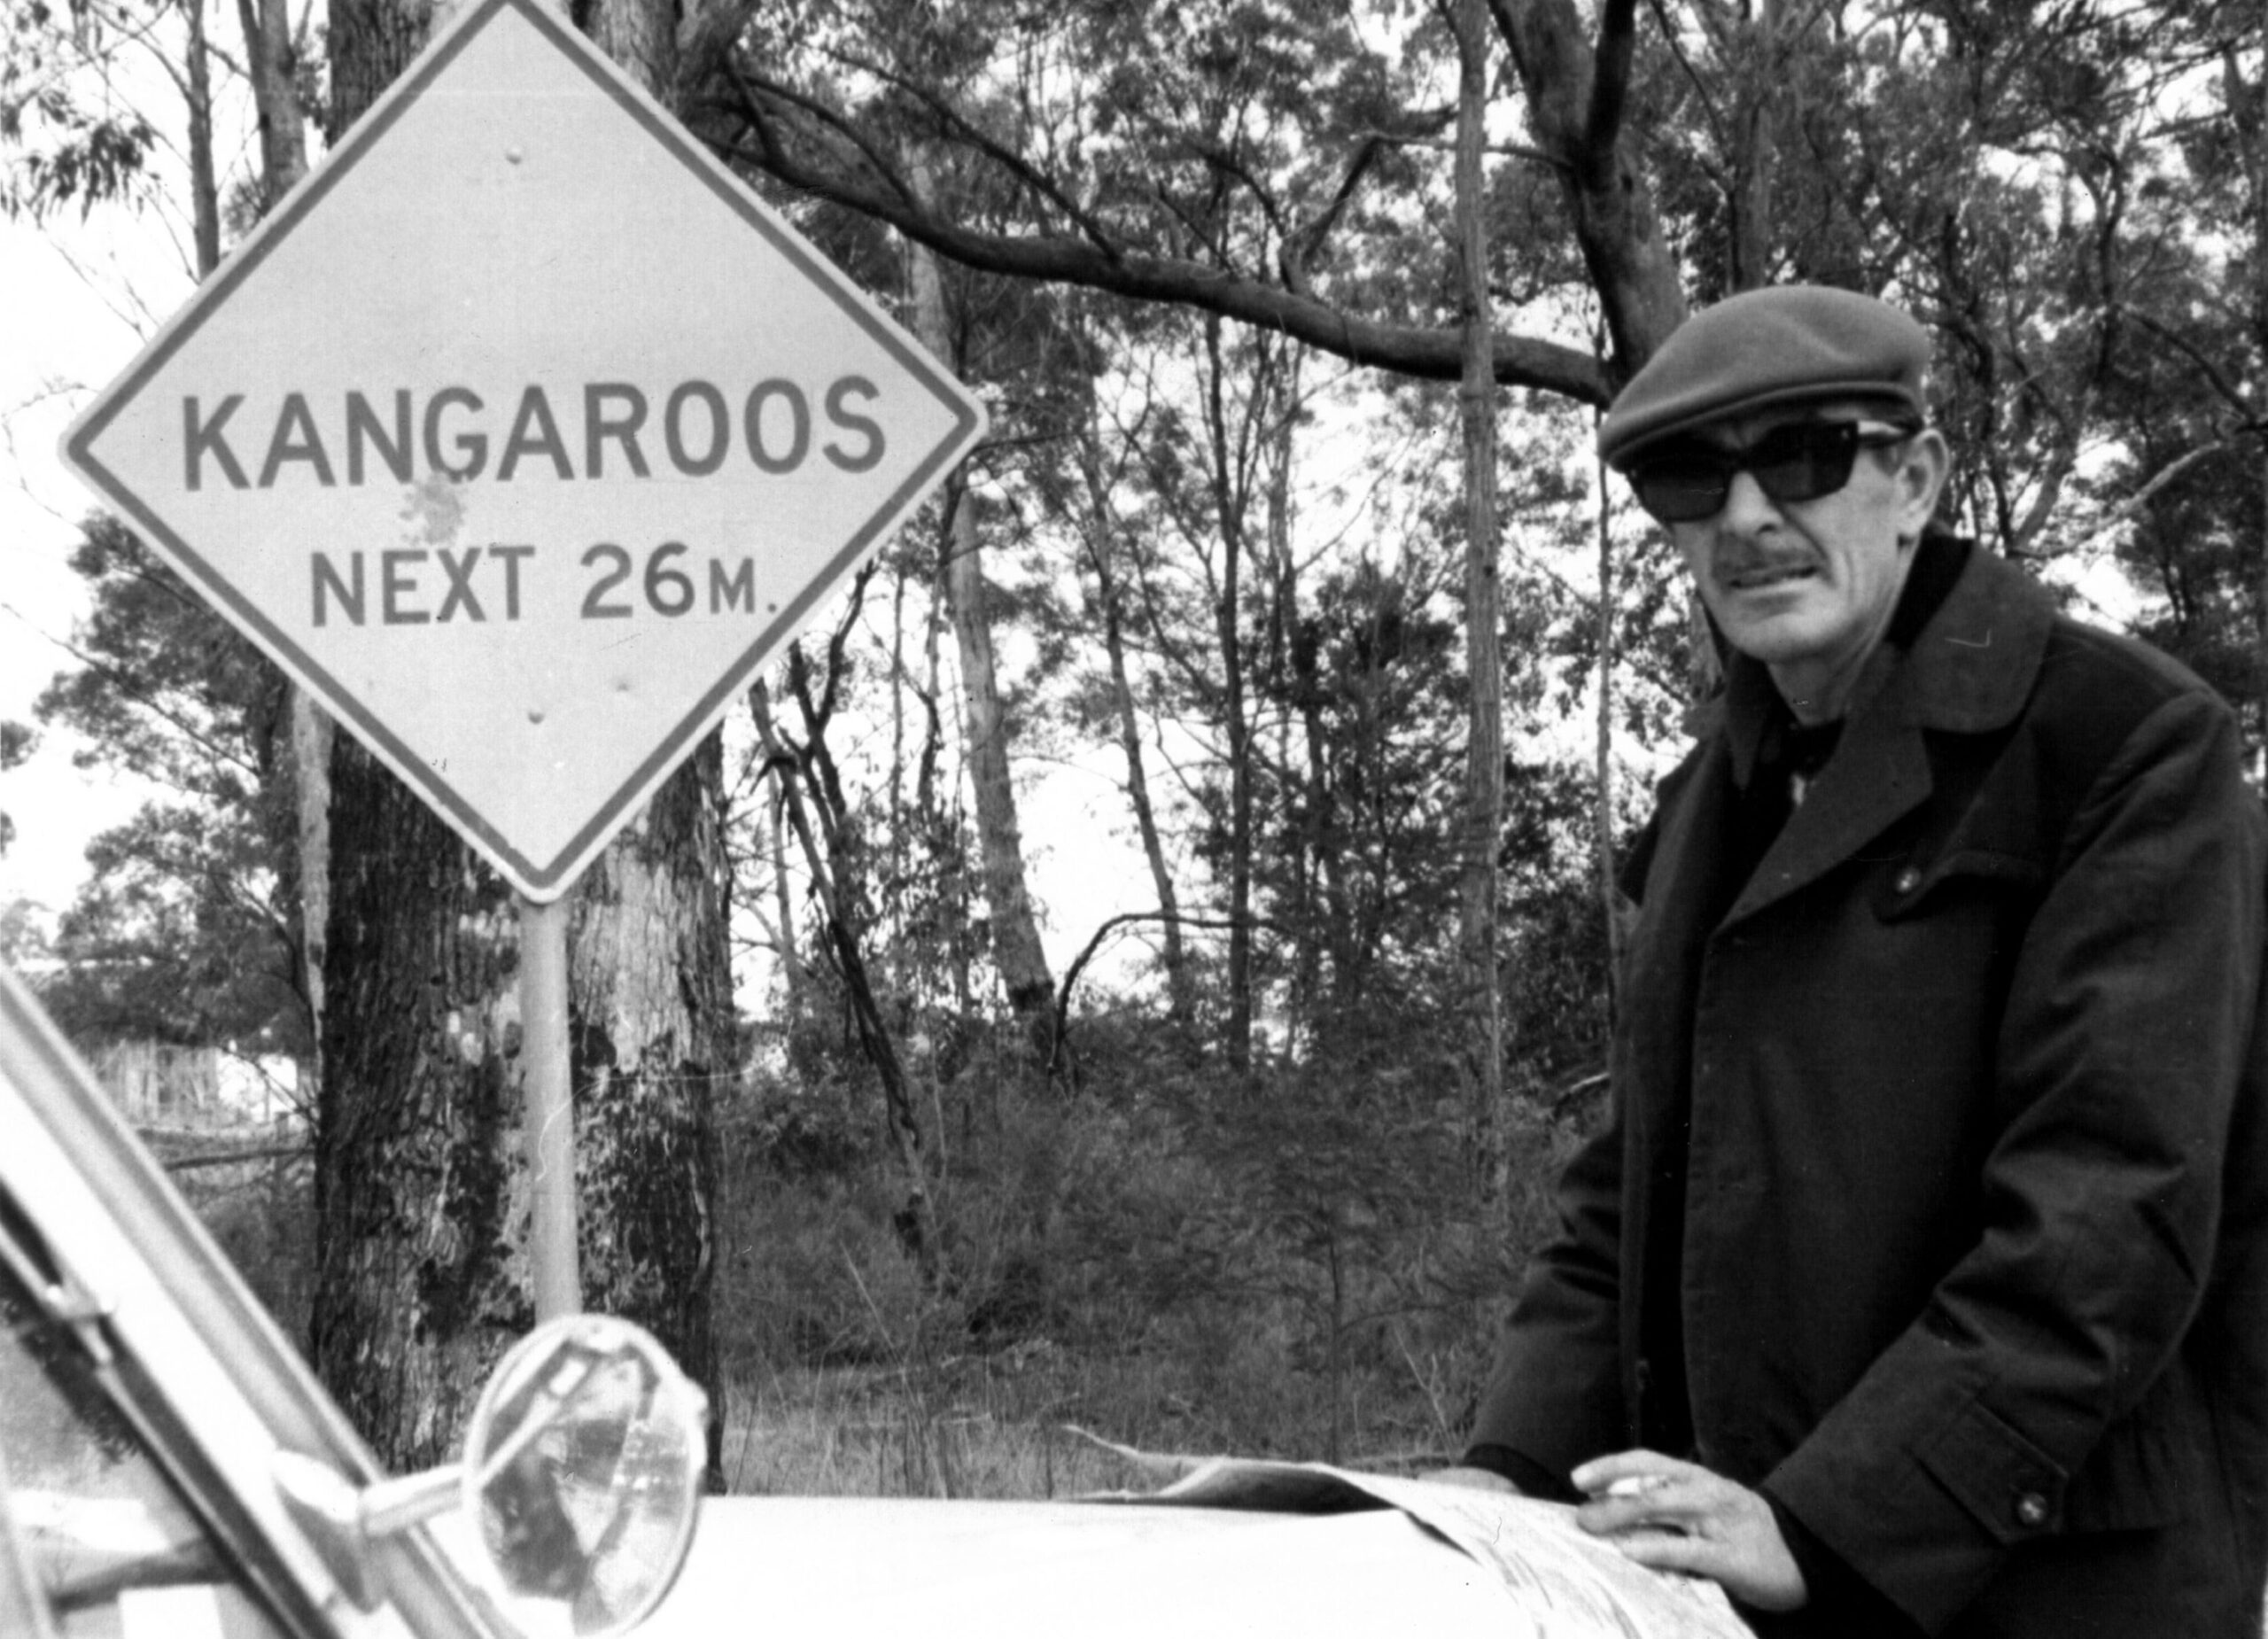
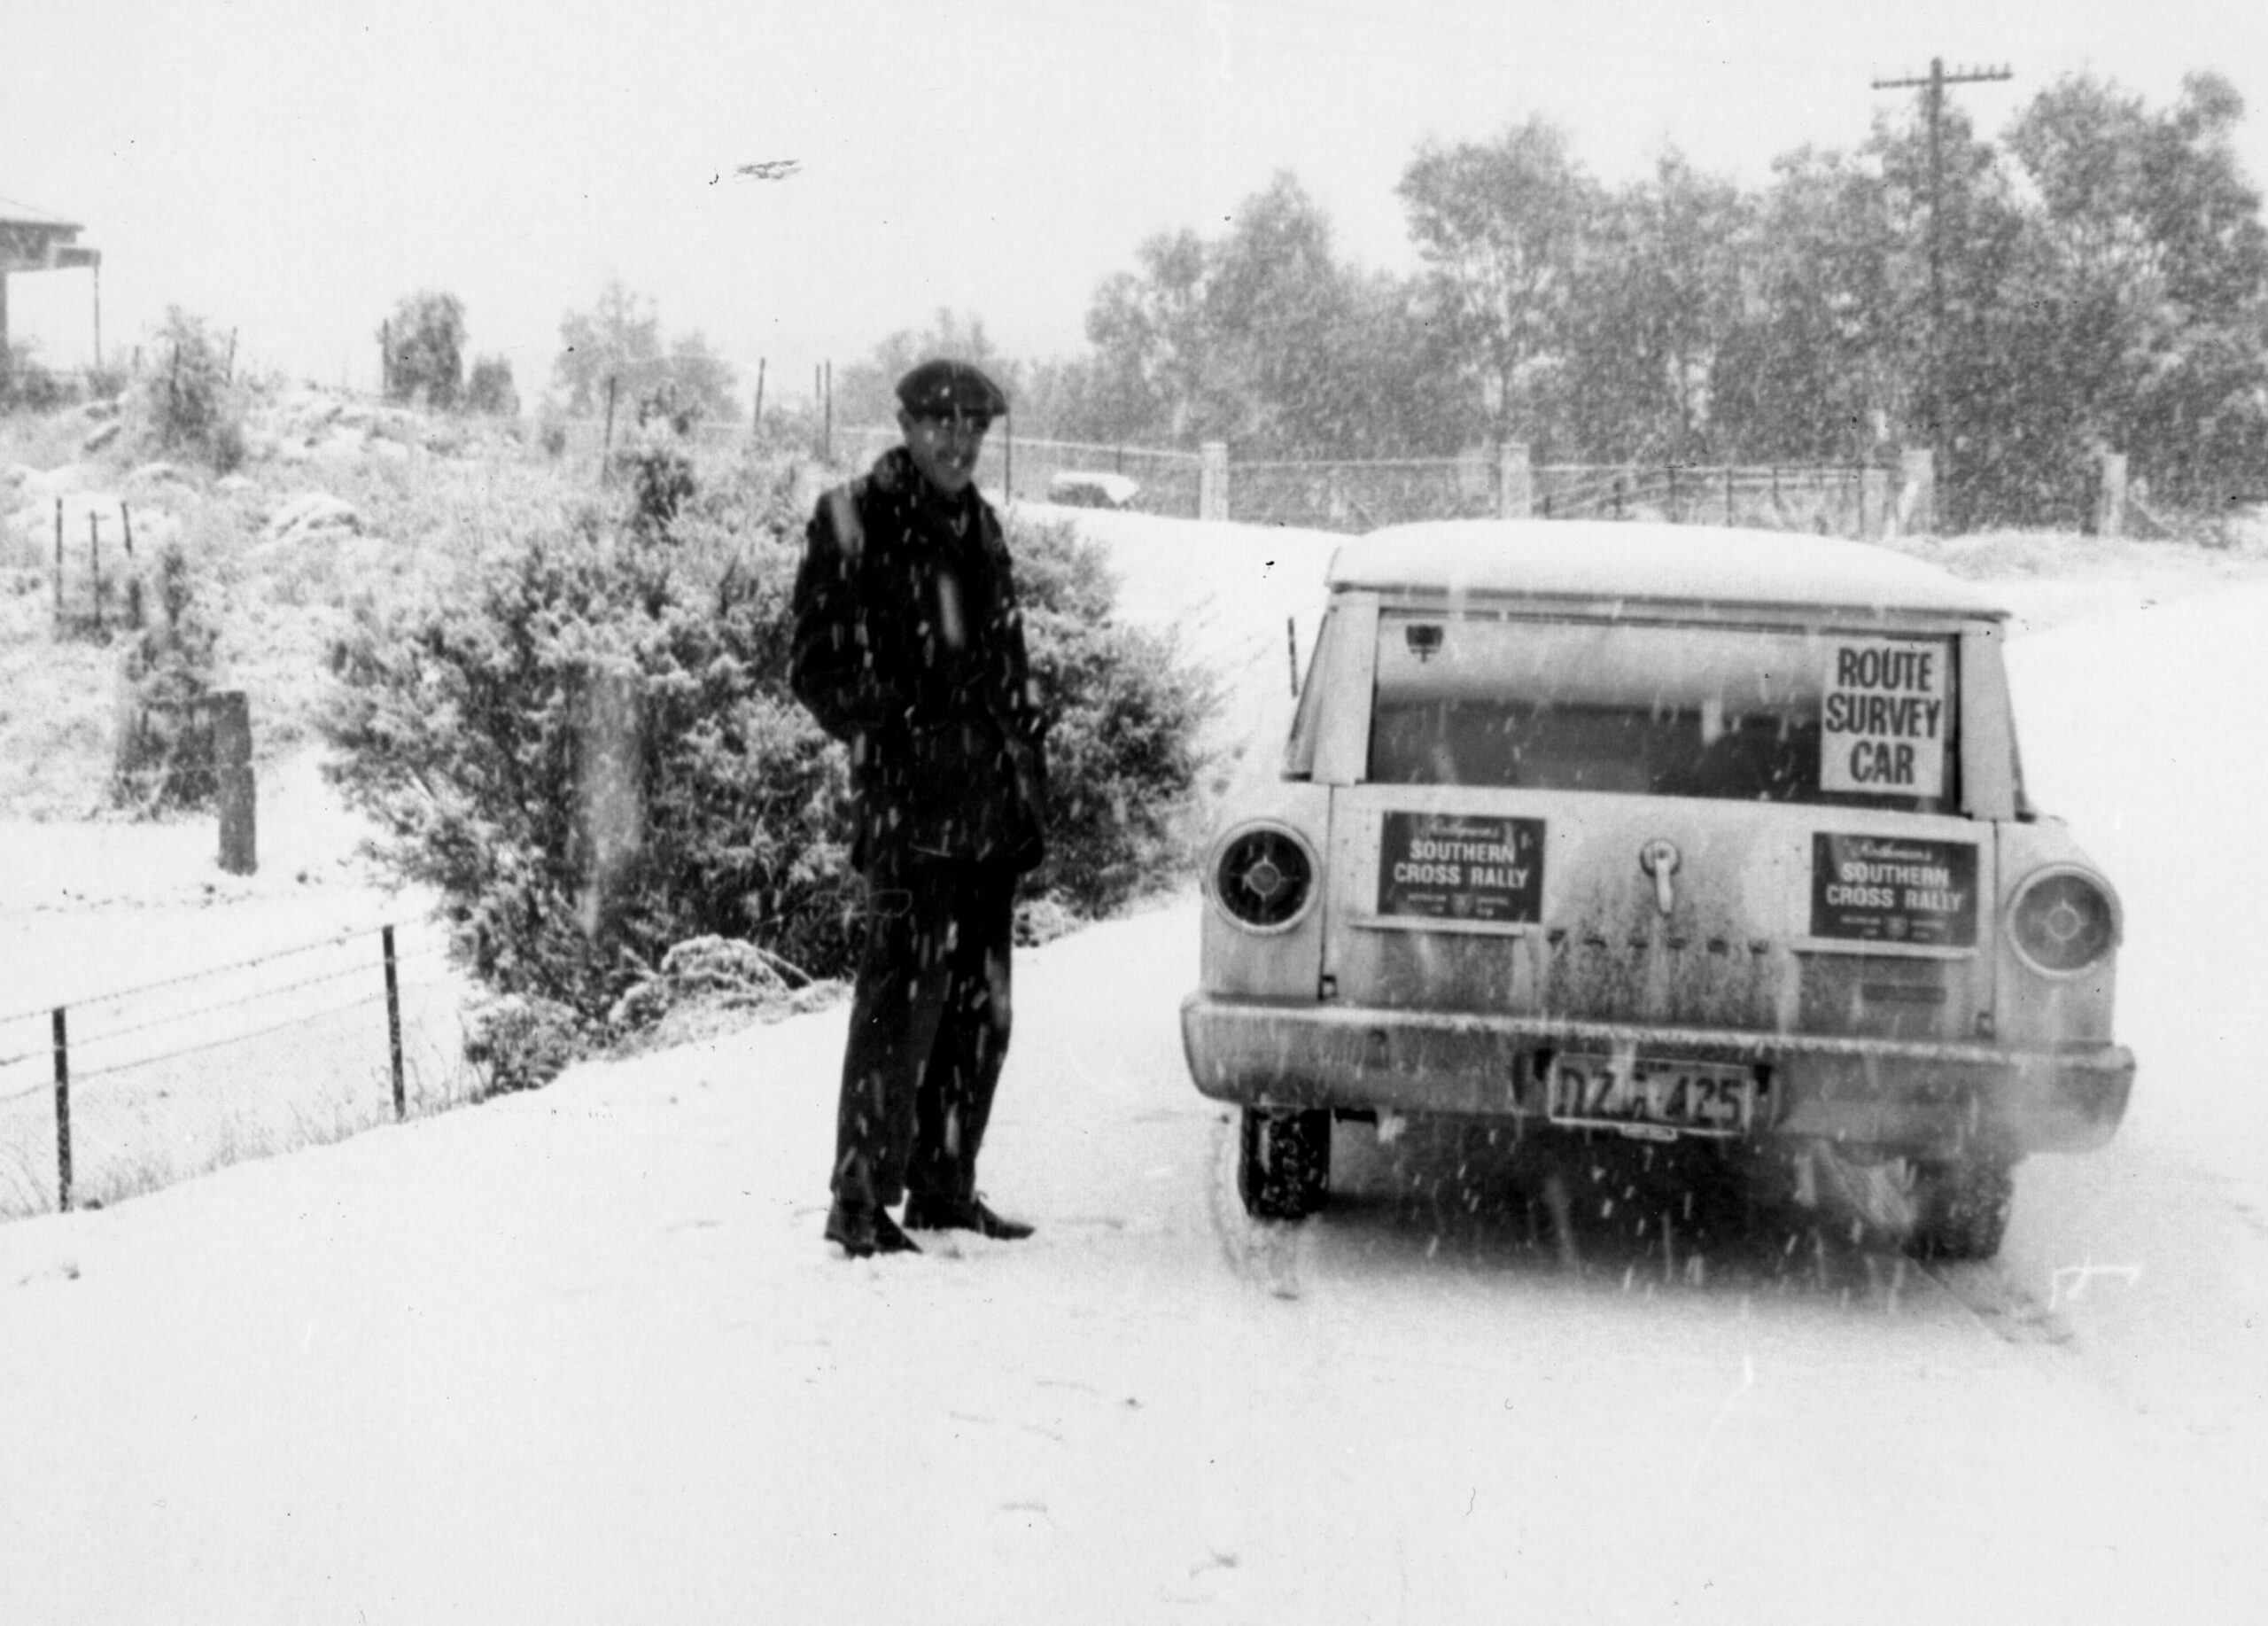
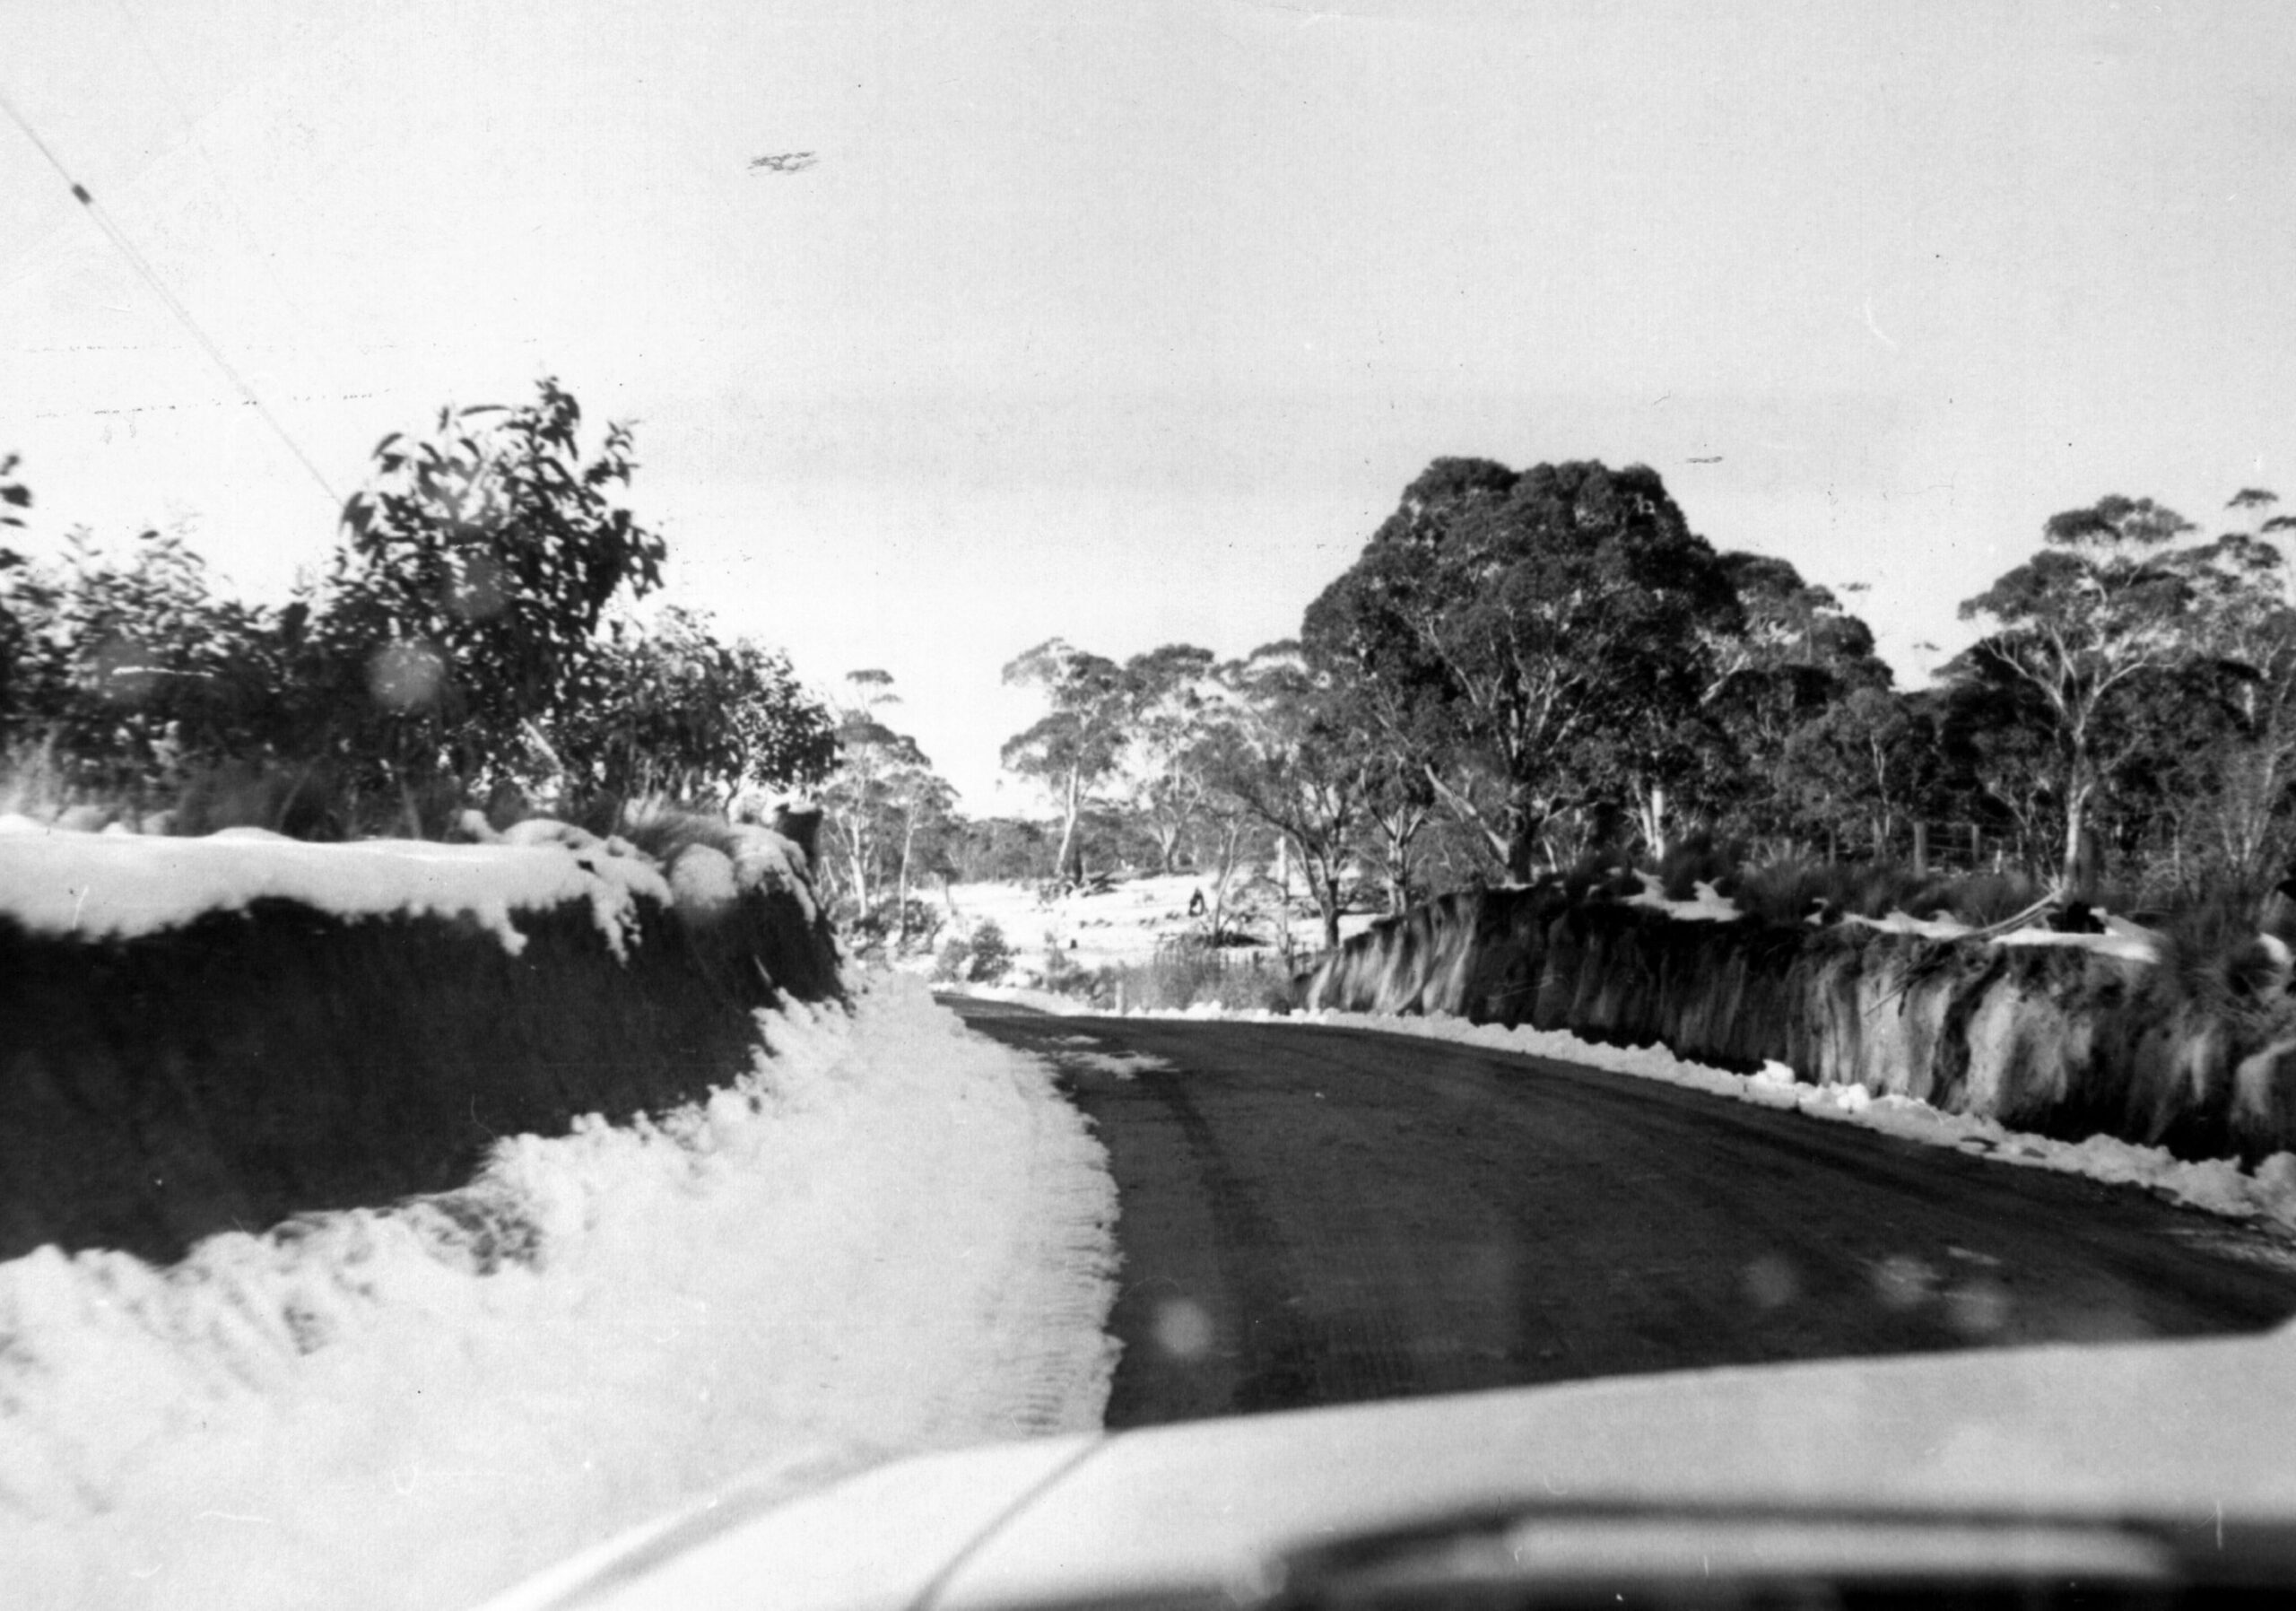
1966 Southern Cross International Rally
Organisation

As with all except the last Southern Cross Rally, the event was organised by the Australian Sporting Car Club.
Director: Bob Selby-Wood
Clerks of Course: Pat Lawless, John Lawless, Rex Shearer, John Sykes
Chief Scrutineer: Fred Pearse
Checker: Bede McNabb
Sponsor: Rothmans
Regulations
The 1966 Supplementary Regulations have been kindly provided by Laurie Mason. The last page lists various monetary amounts – the hand writing is that of Carl Kennedy, Competitions Manager for Ampol through to 1972 or thereabouts.
Some interesting excerpts from the regulations:
Entry fee and Prizemoney
The entry fee was $40. Prize money totalled $18,000 with the winner likely to take away $2,600.
Vehicle Eligibility
Vehicles had to be roadworthy and two-wheel drive with at least 1000 units produced in a year, or recognised by CAMS as Group D or E, which generally aligned with the FIA 2 Touring Car category. All vehicles were allowed to be fitted with a roll bar (although this was not compulsory except for convertibles), a laminated windscreen, extra lights, under body protection, extra fuel tanks etc.
The Series Production Category (confusingly referred to as Group 1 in the Regulations), which aligned with FIA Group 2 (Production Touring Cars), only allowed limited further modifications such as tyres (standard rims), carburettor jet sizes and reboring up to 0.040 inches.
The Improved Production Category (referred to as Group 2 in the Regulations), which aligned with FIA Group 5 (Special Touring Cars), allowed significant further mechanical modification except that the engine must be from the same manufacturer and have the same number of cylinders and configuration.
All vehicles had to carry a first-aid kit, fire extinguisher and seat belts.
Timing and Scoring
Timing was to the minute except on Special Stages where the Regulation 49(c)(i) stipulated that increments of 1/4 minute would be used (1 point per 15 seconds late). Although the route instructions indicated that one-sixth minute timing was used with a point per 10 seconds late, media reports and people’s recollections are that quarter minute timing was used!
No special sections were supposed to be conducted in Victoria due to a ruling from the Victorian State Council of CAMS, although there were special stages around Bethanga, which IS in Victoria! Because of the significant number of special stages on the final night, the results were almost guaranteed to be wide open until then.
Other
Starting order was determined by a ballot. There was no preference given to experienced crews! (It wasn’t until 1968 that this changed). However, it seems that after each day the running order was rotated, so after Wagga, cars 25 to 48 went out first then 49 to 71 followed by 1 to 24!

Entries
There were 71 entries and 69 starters of which 38 finished.
Giving the event its international flavour were two hotshot Europeans, Paddy Hopkirk and Rauno Aaltonen, both in Cooper S Minis, entered by the works BMS team which fielded Minos for Australians Evan Green and Bob Holden.
Ford entered well prepared Cortinas for Harry Firth, Frank Kilfoyle and Ian Vaughan, with support also for Bruce Hodgson.
The dealer supported Holden team had HR Holdens for Bob Watson, Rex Lunn and Tony Roberts from Victoria and two more Holdens for Greg and John Garard from NSW.
Renault Australia entered a single R10 for James Laing-Peach, Volvo entered a single 122S for Max Winkless, and Saab entered a single entry for Christensen/Stanley.
Volkswagen was represented by Barry Ferguson from NSW and Ray Christie from Victoria.
| No. | Entrant | Driver | Ctry/St | Navigator(s) | Ctry/St | Car | ||
|---|---|---|---|---|---|---|---|---|
| 1 | Carl Kennedy | NSW | Terry Mason | NSW | Prince Skyline GT | |||
| 2 | W. Pabian | NSW | B. Morgan | Ford Cortina | ||||
| 3 | Murray Stubber | WA | J. Tyler | WA | Holden Wagon | |||
| 4 | A. Davis | NSW | TBN | TBN | ||||
| 5 | VW Australia | Barry Ferguson | NSW | Tony Denham | NSW | VW Beetle 1600 | ||
| 6 | Ford Motor Co | Frank Kilfoyle | Vic | Bob Forsyth | Vic | Ford Cortina GT | ||
| 7 | John Rhodin P/L | Arthur Treloar | NSW | John Boon | NSW | Colt 1000 | ||
| 8 | S.A. Cheney P/L | Tony Roberts | Vic | Peter Haas | Vic | Holden HR | ||
| 9 | Ray Christie | Vic | Joe Dunlop | Vic | VW | |||
| 10 | Alec Milea | NSW | T. Cook | NSW | Mini Cooper S | |||
| 11 | Bob Gudgeon | ACT | A. Platt | Honda S600 | ||||
| 12 | Vaughan & Lane | Doug Stewart | NSW | John Bryson | NSW | Morrris 1100S | ||
| 13 | Renault Australia | James Laing-Peach | NSW | Peter Smith | Renault 10 | |||
| 14 | Swedish Motors | Max Winkless | NSW | A. Smith | Volvo 122S | |||
| 15 | Cullens Garage | Greg Garard | NSW | Frank Goulbourn | NSW | Holden HR | ||
| 16 | British & Cont’l Cars | Jack Forrest | NSW | W. Miller | Volvo 122S | |||
| 17 | Ford Motor Co | Ian Vaughan | Vic | Roger Vaughan | Vic | Ford Cortina GT | ||
| 18 | Maitland Motors | Jack ‘Milko’ Murray | NSW | D. Vowles | Holden | |||
| 19 | Lionel Williams | NSW | Wally McGreal/ John Sedatis | Holden | ||||
| 20 | A. Hurley | Qld | R. Pearson | Peugeot 404 | ||||
| 21 | Rallier | D. Nicholson | NSW | TBN | Mini Cooper | |||
| 22 | BMC Australia | Paddy Hopkirk | Ireland | Gary Chapman | SA | Mini Cooper S | ||
| 23 | I. Strachan | Vic | R. Thomas | Holden FB | ||||
| 24 | BMC Australia | Evan Green | NSW | John Keeffe | NSW | Mini Cooper S | ||
| 25 | Avis | Miss W. Taylor | NSW | Miss P. Hart | Hillman Imp | |||
| 26 | N. Marshall | NSW | P. Watson | Austin Healey | ||||
| 27 | Denlo Motors | John Schwartz | NSW | Barry Waldron | NSW | VW | ||
| 28 | Alex Hayward | NSW | TBN | MG Y | ||||
| 29 | NSW Motors | Peter Walz | NSW | Bob Cain | NSW | Mini Cooper S | ||
| 30 | W. Parker | Qld | R. Rehbein | Jaguar XK140 | ||||
| 31 | Ford Motor Co | Bruce Hodgson | NSW | N. Boreham | Ford Cortina GT | |||
| 32 | Vaughan & Lane | Brian Hilton | NSW | Robyn Short | Morris 1100S | |||
| 33 | Jack Murray | NSW | B. McEwan/ Graham Mewburn (?) | Prince Skyline GT | ||||
| 34 | P. Walters | NSW | Eric Vigar | Ford Cortina GT | ||||
| 35 | Alec Mildren Motors | Doug Chivas | NSW | Lindsay Adcock | NSW | Alfa Romeo Guilia Special | ||
| 36 | Everybody’s Magazine | Carol Shaw | NSW | Lyn Keeffe | NSW | Mini Deluxe | ||
| 37 | R.V. McPhail P/L | Keith Hutchinson | NSW | John Sproule | Citroen DS21 | |||
| 38 | Sentinel Motors | Bill Nolan | NSW | Mike Alexander | Renault Gordini | |||
| 39 | BMC Australia | Rauno Aaltonen | Finland | Roy Denny | NSW | Mini Cooper S | ||
| 40 | R.W. Waite | SA | J. Lemon | Toyota Corona | ||||
| 41 | BMC Australia | Bob Holden | NSW | George Shepheard | NSW | Mini Cooper S | ||
| 42 | G. Keam | NSW | I. Roberts | Ford Cortina 1500 | ||||
| 43 | Blacklocks P/L | R. Young | NSW | G. Young | NSW | Ford Cortina GT | ||
| 44 | Colliers Auto Service | Bob Drane | NSW | J. Wellard | Renault 1100 | |||
| 45 | Saab Industries | T. Christensen | NSW | Bill Stanley | Saab | |||
| 46 | Colliers Auto Service | Gerry Crown | NSW | Nigel Collier | NSW | Renault Gordini | ||
| 47 | Preston Motors | Bob Watson | Vic | Jim McAuliffe | Vic | Holden HR | ||
| 48 | H.C. Dusting & Co | Reg Lunn | Vic | Geoff Thomas | Vic | Holden HR | ||
| 49 | Cullens Garage | John Garard | NSW | Peter Meyer | NSW | Holden HR | ||
| 50 | S. McGlashan | Vic | P. O’Sullivan | Vovo P1800S | ||||
| 51 | Ken Tubman | NSW | Mick Neilsen | NSW | Hillman Gazelle | |||
| 52 | L. Kelly | NSW | K. Britton | VW 1600TS | ||||
| 53 | Dunbier Motors | Ross Garard | NSW | F. van Eck | Valiant | |||
| 54 | Colliers Auto Service | Bruce Collier | NSW | TBN | Renault | |||
| 55 | John Keran | NSW | Graham Ward | Volvo 122S | ||||
| 56 | Richard Harris | NSW | F. Logan | Ford Cortina | ||||
| 57 | Morris 850 Assoc. | Charles Ryder | NSW | Trevor French | NSW | Mini Cooper | ||
| 58 | Ford Motor Co | Harry Firth | Vic | Graham Hoinville | Vic | Ford Cortina GT | ||
| 59 | K. Gregory | NSW | B. McNaghan | VW 1200 | ||||
| 60 | W. Lober | NSW | R. Shoebridge | Vauxhall Viva | ||||
| 61 | Regan Motors | Geoff Russell | Vic | Martin Hartigan | Vic | Peugeot 404 | ||
| 62 | Lionel Bourke | NSW | W. Smith/ A. Nother | Ford Anglia | ||||
| 63 | T. Crawford | NSW | B. Graber | Mini Cooper | ||||
| 64 | Stanlord Motors | J. Murphy | NSW | J. Sweeney | Mini Cooper S | |||
| 65 | T. Chappel | NSW | R. Burnett | Renault 1100 | ||||
| 66 | T.H. Lancey | HK | T.A. Lancey | HK | Mini Cooper S | |||
| 67 | Barry Arentz | NSW | G. Stock | Mini Cooper S | ||||
| 68 | Bill Burns | NSW | Bruce Kaye | Fiat 850S | ||||
| 69 | Clyde Hodgins | NSW | Brian Hope | NSW | Citroen DS21 | |||
| 70 | George Reynolds | Vic | Eddie Perkins | Vic | VW 1300 | |||
| 71 | D. Gibb | Vic | G. Charter or S. Purdy | Hillman Imp | ||||
Route
The first Southern Cross Rally essentially ran from Sydney to Melbourne and back with stopovers in Wagga Wagga and Canberra. This established the four day format that continued for 15 years. In this first event a day was called a “Stage”. Each stage was broken into two “Divisions”, which presumably had separate late time limits. Within each division there were typically about 7 to 10 “Sections”. Interestingly, the instructions rarely told the crews whether a section was competitive or not, except in the case of “Special Stages” which were clearly identified because they were timed to the sixth minute (10 seconds) or maybe quarter minute. In the details below we have made a judgement about which sections were competitive. Most competitive stages, including special stages, were between 50 and 100 km long, with the run up the Barry Way through Suggan Buggan being 164 km.
The instructions were almost entirely in the form of locations and features on the maps of the day. However most sections had route charts, which the organisers were adamant were “advisory” and suggested that they may not be entirely reliable. Most route charts did not go all the way to the end of a section and route instructions did not specify the distance for each section. Therefore the details below include distances that have been measured off the map after the route was plotted. Although the event used miles, the distances below are in kilometres for comparison with later events. For the most part the route used shire roads with relatively few true forestry roads (an obvious exception was the section east of Melbourne through the Beenak Forest). Even special stages often used quite main roads, in fact one used a short section of the Hume Highway!
| Day | Special Stages | Other Stages | Special | Other | Transport | Total | Longest |
|---|---|---|---|---|---|---|---|
| One | 3 | 11 | 96 km | 514 km | 220 km | 830 km | 86.2 km |
| Two | 6 | 8 | 180 km | 574 km | 181 km | 935 km | 109 km |
| Three | 1 | 5 | 61 km | 375 km | 439 km | 875 km | 164 km |
| Four | 5 | 7 | 275 km | 355 km | 204 km | 834 km | 90.4 km |
| Total | 15 | 30 | 1131 km | 1819 km | 525 km | 3475 km | 164 km |
Day One
The event began at dusk from Roselands Shopping Centre from where crews headed to the start proper at Bell. A series of stages took crews through Hartley Vale, Lowther and almost back to Lithgow. They then appeared to traverse a road since obliterated by the Lyell Dam before heading south through Hampton, down the treacherous road to Jenolan Caves, then south-west through rugged terrain to a refuel at Crookwell. The route then headed north-west to tackle the first special stage over Wyangala Dam before heading southwards to Boorowa. A further special stage took crews south to the Hume Highway at Jugiong. Three more sections including a special stage took crews west to the first stopover at Wagga Wagga.
Day Two
The second night quickly headed south-east, crossing the Hume Highway to tackle two special stages across to Tumbarumba. The first skirted, but did not use the Carabost Forest. The second was a loop that re-used part of the first special stage. Several sections then took crews through Tooma then along the Murray and into Victoria at Jingellic. Four special stages around the small township of Bethanga became known as the “Bethanga Stampede” with every road into and out of the village being used. From there crews headed into Albury for a refuel and mealbreak. An easy run down to Myrtleford was followed by a fairly straightforward section to Whitfield, then another to Mansfield with a diversion towards Tatong. Then came a trio of long mountain stages through Jamieson, under Lake Eildon and southwards through Merie Junction and McMahons Creek to a refuel at Warburton. A final section went over Mount Donna Buang (often used in Rally of Melbourne) to Launching Place. Crews then transported to the impound at Melbourne’s old Olympic Park.
Day Three
The third night began with a jaunt through the Beenak Forest to the east of Melbourne, starting on the Princes Highway in the middle of Pakenham, which was obviously a quiet village in comparison to today being a suburb of Melbourne! Two more competitive sections were tackled in the Strzelecki Ranges, utilising the superb roads around Mirboo North. From Gormandale crews transported to Sale for a refuel and mealbreak and then transported further east through Bairnsdale and Bruthen to the sleepy village of Buchan. Then came the arduous 164 km run up the Barry Way through Suggan Buggan, finishing near Jindabyne (this was later used in the 1968 London-Sydney Marathon). After a refuel in Cooma, crews tackled the only special stage of the third night, starting on Jones Plains Road, then Bobyan Road, a run across some paddocks then a loop through Yaouk to Shannons Flat. The final competitive took crews into the ACT and up to Tharwa before an easy run into Canberra.
Day Four
The final night began with a long special stage up through Uriarra, including a loop towards Wee Jasper before finishing at Cavan. Three sections then took crews generally eastwards from Yass through Murrumbateman, through what is now the outskirts of Canberra, and Gundaroo to Collector for a refuel. Two sections, including a long special stage, then headed eastwards to Charleyong north of Braidwood. After a brief refuel were two more special stages around Reidsdale and Majors Creek, then up the western side of the Budawangs. Another long section took crews to a refuel at Nowra. The event’s final special stage used part of the Kangaroo Valley Road. Two more sections remained, the first running past Fitzroy Falls and up to Robertson from the south, involving a tricky ford. The last competitive used what are now main roads past Jamberoo to Albion Park. Crews then transported to Pat Cullens Garage in Liverpool before a convoy to the ceremonial finish at Roselands Shopping Centre.
Results
| Place | Driver | Navigator | Car | Points |
|---|---|---|---|---|
| 1 | Harry Firth | Graham Hoinville | Ford Cortina GT | 130 |
| 2 | Greg Garard | Frank Goulbourn | Holden HR | 155 |
| 3 | Ian Vaughan | Roger Vaughan | Ford Cortina GT | 164 |
| 4 | Reg Lunn | Geoff Thomas | Holden HR | 180 |
| 5 | Frank Kilfoyle | Bob Forsyth | Ford Cortina GT | 184 |
| 6 | Max Winkless | A. Smith | Volvo 122S | 187 |
NOTE: Some records show Watson/McAuliffe a finishing fourth but this would appear to have been an error as they had engine problems on the second night.
Class Winners
| Class | Description | Place | Driver | Naviagtor | Car | Points |
|---|---|---|---|---|---|---|
| A | Series Production | 1 | Bob Gudgeon | A. Platt | Honda S600 | 646 |
| Up to 1000 cc | 2 | D. Gibbs | S. Purdy | Hillman Imp | 1269 | |
| 3 | Carol Shaw | Lyn Keeffe | Mini Deluxe | 1357 | ||
| B | Series Production | 1 | James Laing-Peach | P. Smith | Renault R10 | 556 |
| 1001-1300 cc | 2 | J. Murphy | J. Sweeney | Mini Cooper S | 576 | |
| 3 | Peter Walz | Bob Cain | Mini Cooper S | 880 | ||
| C | Series Production | 1 | Ian Vaughan | Roger Vaughan | Ford Cortina GT | 164 |
| 1301-2000 cc | 2 | Frank Kilfoyle | Bob Forsyth | Ford Cortina GT | 184 | |
| 3 | Geoff Russell | Martin Hartigan | Peugeot 404 | 345 | ||
| D | Series Production | 1 | Tony Roberts | Peter Haas | Holden HR | 222 |
| Over 2000 cc | 2 | John Garard | Peter Meyer | Holden HR | 253 | |
| 3 | Lionel Williams | Wally McGreal | Holden X2 | 296 | ||
| E | Improved Production | 1 | Charlie Ryder | Trevor French | Mini Cooper | 654 |
| Up to 1000 cc | 2 | Bill Burns | Bruce Kaye | Fiat 850S | 1558 | |
| 3 | T. Crawford | B. Graber | Mini Cooper | 1727 | ||
| F | Improved Production | 1 | Evan Green | John Keeffe | Mini Cooper | 208 |
| 1001-1300 cc | 2 | Bob Drane | J. Wellard | Renault 1100 | 308 | |
| 3 | Bob Holden | George Shepheard | Mini Cooper S | 353 | ||
| G | Improved Production | 1 | Harry Firth | Graham Hoinville | Ford Cortina GT | 130 |
| 1301-2000 cc | 2 | Max Winkless | A. Smith | Volvo 122S | 187 | |
| 3 | Paddy Hopkirk | Gary Chapman | Mini Cooper S | 264 | ||
| H | Improved Production | 1 | Greg Garard | Frank Goulbourn | Holden HR | 155 |
| Over 2000 cc | 2 | Reg Lunn | Geoff Thomas | Holden X2 | 180 | |
| 3 | Bob Watson | Jim McAuliffe | Holden HR | 319 | ||
Other Awards
Ladies Award: Carol Shaw/Lyn Keeffe, Morris Mini
Manufacturers Award: Ford
Other event documents
None available at this time.